もくじ
どうもこんにちは。iOSをメインに開発しているロッキーカナイです。
暇なので、三角図形のUIViewを作って、グラデーションで塗りつぶしを試してみました。
では
行う事としては、UIViewクラスを継承したクラスのdrawメソッド内で、UIBezierPathを用いて三角レイヤーを作ります。
次にグラデーションのレイヤーを作って、三角レイヤー領域をマスクしてあげます。
完成です。
コード
import UIKit

class LayerView : UIView {
    override func draw(_ rect: CGRect) {
    }

    override func draw(_ layer: CALayer, in ctx: CGContext) {

        UIGraphicsPushContext(ctx)

        // グラデーションレイヤーの生成
        let gradLayer = CAGradientLayer()
        gradLayer.frame = CGRect(x: 0, y: 0, width: frame.size.width, height: frame.size.height)
        gradLayer.colors = [
            UIColor.blue.cgColor,
            UIColor.red.cgColor,
        ]

        // 三角レイヤーの生成
        let line = UIBezierPath();
        line.move(to: CGPoint(x: 30, y: 80));
        line.addLine(to: CGPoint(x: 200, y: 450));
        line.addLine(to: CGPoint(x: 300, y: 280));
        line.close()

        // 三角レイヤーのシェイプを生成
        let ovalShapeLayer = CAShapeLayer()
        ovalShapeLayer.path = line.cgPath

        // マスクを設定
        gradLayer.mask = ovalShapeLayer

        // 描写
        layer.addSublayer(gradLayer)
        UIGraphicsPopContext()
    }
}
これをストーリーボードなりコードなりで呼んであげればOKです。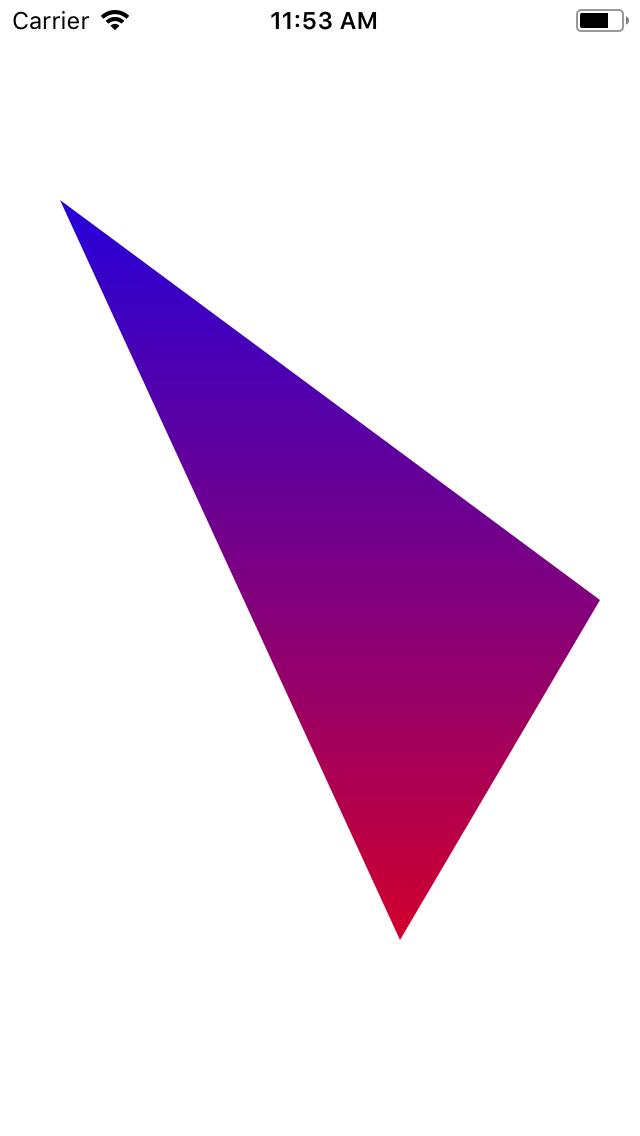
なんかRealm色っぽい。
グラデーションViewの位置を動的に動かしてみる
意外と動かすという情報が少ないので記載します。
三角の頂点を画面幅内で移動させるという事をやってみました。
ViewController
import UIKit

class ViewController: UIViewController {

    // 三角のレイヤー
    @IBOutlet weak var layer: LayerView!
    // 三角の頂点Xをプラスするかのフラグ
    var isUp: Bool = true
    // 三角の頂点X
    var topX: CGFloat = 30
    // 画面幅
    var width = UIScreen.main.bounds.size.width

    override func viewDidLoad() {
        super.viewDidLoad()

    // タイマー
        Timer.scheduledTimer(
            timeInterval: 0.003,
            target: self,
            selector: #selector(self.timerCounter),
            userInfo: nil,
            repeats: true)
    }

    @objc func timerCounter() {
        if topX >= width {
            isUp = false
        } else if topX <= 0 {
            isUp = true
        }
        topX += isUp ? 1 : -1
        layer.updateTopPosition(topX)
    }
}
三角レイヤー
import UIKit

class LayerView : UIView {
    var topX: CGFloat = 0
    var gradLayer = CAGradientLayer()

    override func draw(_ rect: CGRect) {
    }

    override func draw(_ layer: CALayer, in ctx: CGContext) {

        gradLayer.removeFromSuperlayer()

        UIGraphicsPushContext(ctx)

        // グラデーションレイヤーの生成
        gradLayer = CAGradientLayer()
        gradLayer.frame = CGRect(x: 0, y: 0, width: frame.size.width, height: frame.size.height)
        gradLayer.colors = [
            UIColor.blue.cgColor,
            UIColor.red.cgColor,
        ]

        // 三角レイヤーの生成
        let line = UIBezierPath();
        line.move(to: CGPoint(x: topX, y: 80));
        line.addLine(to: CGPoint(x: 200, y: 450));
        line.addLine(to: CGPoint(x: 300, y: 280));
        line.close()

        // 三角レイヤーのシェイプを生成
        let ovalShapeLayer = CAShapeLayer()
        ovalShapeLayer.path = line.cgPath

        // マスクを設定
        gradLayer.mask = ovalShapeLayer

        // 描写
        layer.addSublayer(gradLayer)
        UIGraphicsPopContext()
    }

    func updateTopPosition(_ x: CGFloat) {
        topX = x
        setNeedsDisplay()
    }
}
そうすると、以下のような感じで出来ます。
とりあえず出来ました。